From the Kiyosu Conference to Sakuma Morimasa’s Strike at Oiwayama
The 2nd day of the 6th month, the tenth year of Tensho (1582).
Honno-ji, Kyoto.
Oda Nobunaga was attacked by the forces of Akechi Mitsuhide.
Nobunaga took his own life.
His eldest son, Oda Nobutada, also ended his own life at Nijo Palace.
The Oda house, on the verge of unifying the realm, lost both its lord and its heir within a single day.
From here began the struggle over who would hold the reins of the Oda house after Nobunaga’s death.
At the center of that struggle stood Hashiba Hideyoshi and Shibata Katsuie.
And the following year.
The two men faced off with tens of thousands of troops across the mountains of Omi.
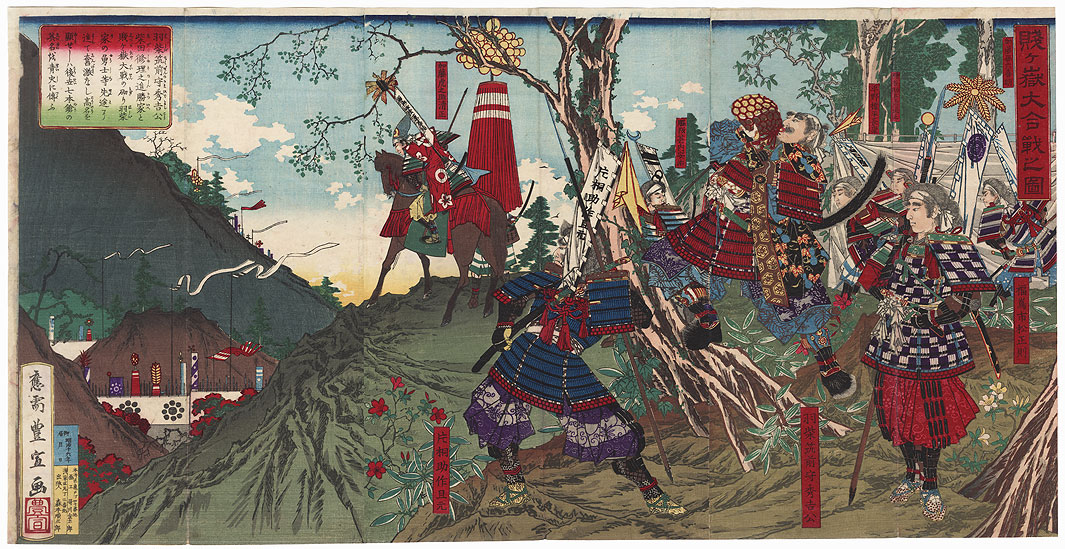
That battle was the Battle of Shizugatake.
1. The Honno-ji Incident — Nobunaga Vanishes
When the Honno-ji Incident took place, Hashiba Hideyoshi was fighting the Mori clan in the Chugoku region.
On learning of Nobunaga’s death, Hideyoshi made peace with the Mori and turned his army east.
On the 13th of the 6th month, he defeated Akechi Mitsuhide at Yamazaki.
As the man who had avenged Nobunaga, Hideyoshi’s standing within the Oda house rose sharply.
Shibata Katsuie, meanwhile, was fighting Uesugi Kagekatsu in the Hokuriku region and did not arrive in time for the Battle of Yamazaki.
After Nobunaga’s death, a great gap opened between the positions of the two men.
Hideyoshi extended his power around Kyoto.
Katsuie remained in Hokuriku, centered on Echizen.
And the question of who would succeed Nobunaga now had to be settled.
2. The Kiyosu Conference — Sanposhi Becomes Heir
The 27th day of the 6th month, Tensho 10.
The leading men of the Oda house gathered at Kiyosu Castle in Owari.
Shibata Katsuie. Hashiba Hideyoshi. Niwa Nagahide. Ikeda Tsuneoki.
Here, the successor to the Oda house after Nobunaga’s death, and the redistribution of its territory, were decided.
The man put forward as heir was Sanposhi, the orphaned son of Nobunaga’s eldest son, Nobutada.
With Sanposhi still an infant, it was the leading men of the Oda house who would actually run its politics and its military affairs.
Nobunaga’s third son, Nobutaka, received Mino.
Nobunaga’s second son, Nobukatsu, received Ise.
Hideyoshi received key territory centered on the capital region.
Katsuie received Nagahama and other parts of northern Omi, in addition to his existing base in Echizen and the Hokuriku region.
And Nobunaga’s own sister, Oichi, married Katsuie.
In this way, a new order for the Oda house was put in place.
But the question of who actually held real power remained unresolved.
Sanposhi was still a child.
The men who actually ran the Oda house’s affairs were Hideyoshi, Katsuie, Nobukatsu, and Nobutaka.
The question of who would succeed Nobunaga had, in effect, become the question of who would control the Oda house itself.
3. After Kiyosu, the Oda House Splits Into Two Camps
After the Kiyosu Conference, Hideyoshi expanded his power with the capital region as his base.
Katsuie, meanwhile, consolidated his hold over Hokuriku from his base in Echizen.
And into northern Omi came Katsuie’s nephew and adopted son, Shibata Katsutoyo.
His base became Nagahama Castle.
Nagahama Castle had once been Hideyoshi’s own territory.
After destroying the Azai clan, Hideyoshi had been granted northern Omi and built Nagahama Castle as his own base there.
Which is to say, after Nobunaga’s death, Katsuie’s side, in the person of Katsutoyo, moved into the very castle Hideyoshi himself had built.
Nagahama was a crucial junction linking Hokuriku and Omi.
For Katsuie, it was a foothold for advancing south.
For Hideyoshi, it meant his own former base was now in Katsuie’s hands.
4. Nagahama Castle in Winter — Hideyoshi’s First Target
The 11th month, Tensho 10.
Hideyoshi attacked Katsutoyo at Nagahama Castle.
Nagahama Castle was a key stronghold for Katsuie’s side.
And Hokuriku, at this time of year, faced a serious problem.
Snow.
Moving a large army from Echizen into Omi was a formidable task with heavy winter snowfall in the way.
Indeed, a document from Shomyo-ji dated the 20th day of the 12th month, Tensho 10, records that the snow was deep and the roads entirely blocked.
Reference materials from the National Diet Library likewise note, based on this account, that it would have been difficult for Katsuie’s side to move a relief force from Echizen into Omi.
Hideyoshi made use of this winter window.
Seize Katsuie’s strongholds first, while Katsuie himself cannot easily move a large army out of Hokuriku.
Nagahama Castle became his first target.
On the 9th of the 12th month, Katsutoyo surrendered to Hideyoshi.
Nagahama Castle returned to Hideyoshi’s hands. The Nagahama Castle History Museum likewise records that Katsutoyo surrendered to Hideyoshi and that Nagahama Castle once again became Hideyoshi’s own stronghold.
Before ever clashing head-on with Katsuie’s main army, Hideyoshi had already seized one crucial stronghold.
This was the first great move on the road that would lead to Shizugatake.
5. Oda Nobutaka Also Surrenders — Hideyoshi Secures Mino Too
Nagahama was not the only front.
In Mino, Oda Nobutaka stood opposed to Hideyoshi.
Nobutaka had allied with Shibata Katsuie and become a force opposing Hideyoshi.
Hideyoshi advanced his army into Mino.
Nobutaka’s home base of Gifu Castle came under pressure, and Nobutaka surrendered.
The 12th month, Tensho 10.
Nobutaka submitted to Hideyoshi and Oda Nobukatsu.
Sanposhi, too, passed into Hideyoshi’s hands.
Here, Hideyoshi secured a major gain.
He had taken Nagahama Castle, and had also forced Nobutaka of Mino to surrender once.
One by one, over the course of the winter, he had broken down the forces allied with Katsuie.
6. Hideyoshi’s Winter Strategy — Wearing Down the Perimeter While Katsuie Cannot Move
Following this chain of events, Hideyoshi’s strategy comes into focus.
Katsuie in Hokuriku could not easily move a large army south during the winter.
In that window, Hideyoshi
forced Katsutoyo of Nagahama to surrender.
forced Nobutaka of Mino to surrender.
And the following year, he turned his attention to Ise.
There stood Takigawa Kazumasu.
Of course, no surviving battle plan from Hideyoshi states outright that he devised this campaign “because it was winter.”
But lining up the timing of the Nagahama campaign, the snowfall in Hokuriku, and the timing of Katsuie’s own march south, a clear pattern emerges: Hideyoshi spent the winter into early spring, while Katsuie could not easily move, cutting down the forces opposing him one by one.
And this same momentum carried directly into the Ise campaign of Tensho 11.
7. Takigawa Kazumasu of Ise — Hideyoshi Secures His Rear Further Still
The eleventh year of Tensho (1583) arrived.
Hideyoshi’s next target was Ise.
Northern Ise was held by the senior Oda retainer Takigawa Kazumasu.
Kazumasu, too, had allied with Katsuie against Hideyoshi.
Hideyoshi advanced his army into Ise.
In the 2nd month.
Hideyoshi personally laid siege to Kazumasu’s Kameyama Castle, and also attacked Mine Castle and the Kuwana area.
This can be confirmed from contemporary sources, including proclamations Hideyoshi himself issued. Yokkaichi City likewise confirms the 2nd-month campaign into northern Ise and the attacks on Kameyama, Mine, and Kuwana.
Even so, this needs to be read with care.
Very few sources survive for the northern Ise front in early Tensho 11.
Yokkaichi City itself states plainly that “the actual course of events has not been fully clarified.”
For that reason, this account avoids treating the detailed battle scenes found in later war chronicles as settled historical fact.
What can be confirmed with confidence is that Hideyoshi sent a large army into northern Ise and attacked Takigawa’s castles.
8. Kameyama Castle Falls — But Kazumasu Is Not Finished
Fierce fighting continued in northern Ise, and Takigawa’s side put up resistance.
At Mine Castle in particular, records show that Takigawa Masushige held the defense and resisted Hideyoshi’s assault.
Then, on the 3rd of the 3rd month, Kameyama Castle surrendered to Hideyoshi’s side.
Hideyoshi widened his advantage in northern Ise.
But it would not be accurate to say Takigawa Kazumasu was completely defeated here.
Kazumasu’s forces still remained in Ise.
Hideyoshi did not finish off Kazumasu before turning to face Katsuie.
Rather, he moved into a full confrontation with Katsuie while the Ise front was still unresolved.
And in the 3rd month.
Katsuie began to move from Hokuriku.
9. The Snow Melts — Shibata Katsuie Heads South
During the winter, it had been difficult to move a large army from Echizen into Omi.
But spring came. The snow began to melt.
Katsuie finally moved south.
The 3rd of the 3rd month, Tensho 11.
Shibata Katsuie is said to have left Kitanosho and advanced toward the Yanagase area of Ika District, Omi. National Diet Library reference materials likewise confirm this date for his departure from Echizen into Omi.
Among the commanders in Katsuie’s army were
Sakuma Morimasa. Maeda Toshiie. Fuwa Katsumitsu. Kanamori Nagachika.
and others.
The great army of Hokuriku had begun its march south.
Hideyoshi, too, now had to meet this advance.
He could no longer keep his main force in Ise.
So Hideyoshi returned to Omi.
10. From Ise to Omi — Hideyoshi Heads for a Direct Confrontation With Katsuie
Hideyoshi left the Ise front to Oda Nobukatsu and others, and shifted his main force to Omi.
Around the 17th of the 3rd month, he advanced toward the Kinomoto and Shizugatake area and faced off against Katsuie’s army.
The Nagahama Castle History Museum likewise notes that Hideyoshi made Nagahama his base once again, while his brother Hidenaga took up position at Tagamiyama to face the Shibata army.
Here, the center of the battlefield shifted.
Until now, Hideyoshi had fought Katsuie’s side across several separate regions — Mino and Ise.
But now that Katsuie had marched south, the two men’s main armies finally stood face to face in Omi.
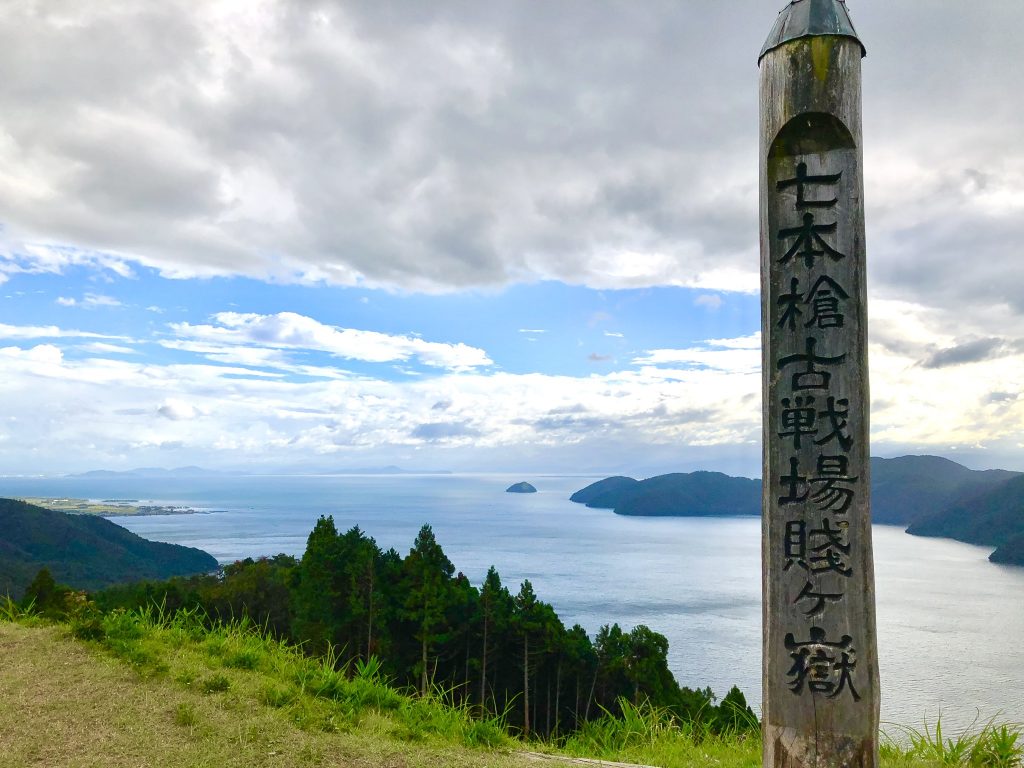
The stage was the area around Lake Yogo, a landscape of connected mountains.
11. Around Lake Yogo — Both Armies Fortify the Mountains
Hideyoshi and Katsuie did not immediately throw their main armies into a frontal battle.
Both sides secured the mountains.
They built forts. They positioned their troops.
Hideyoshi’s side placed men at key points including
Shizugatake. Oiwayama. Iwasakiyama. Tagamiyama.
and other strategic heights.
Katsuie’s side likewise arrayed its camps southward from the Yanagase area.
The Nagahama Castle History Museum likewise explains that both the Hideyoshi and Katsuie armies built forts around Lake Yogo and settled into a standoff.
From here, the front fell into stalemate.
But behind that calm, a war of information continued.
Probing the enemy’s positions. Reaching out to sway enemy commanders.
Through this quiet maneuvering, the Battle of Shizugatake drew, step by step, closer to its decisive clash.
12. Yamaji Masakuni Defects to Katsuie’s Side — Frontline Intelligence Leaks Out
The 4th month.
A significant development occurred on Hideyoshi’s front line.
The defection of Yamaji Masakuni.
Yamaji Masakuni had served as a retainer of Shibata Katsutoyo, involved in defending the Dogiyama area.
He now went over to Katsuie’s side.
Through this move, Katsuie’s side gained intelligence about Hideyoshi’s own front line.
Later war chronicles and military records describe this intelligence as feeding directly into Sakuma Morimasa’s plan of attack.
Exactly how much information actually made its way through cannot be pinned down in detail from contemporary sources alone.
Even so, it was from here that Morimasa’s own plan began to take shape.
13. April 16 — Oda Nobutaka Rises Again
And then, a major incident struck in Mino.
Oda Nobutaka rose up once more.
The previous December, Nobutaka had already surrendered to Hideyoshi once.
But on the 16th of the 4th month, Tensho 11.
Nobutaka took up arms again.
Having surrendered once, he now raised troops against Hideyoshi a second time.
For Hideyoshi, this was an extremely troublesome development.
Katsuie in Omi. Kazumasu in Ise.
And now Nobutaka in Mino.
Several fronts were moving at once. Hideyoshi made his decision.
He would head for Mino.
14. Hideyoshi Departs for Ogaki — an Opening Appears on the Front Line
The 16th of the 4th month.
Hideyoshi set out for Mino and entered Ogaki.
Left behind on the Omi front were Hashiba Hidenaga, Nakagawa Kiyohide, Takayama Ukon, and others.
Hideyoshi himself had left the front line.
Here, an opportunity opened up for Katsuie’s side.
Hideyoshi was gone.
And Hideyoshi’s own front line still had a row of forts strung out at Oiwayama, Iwasakiyama, and elsewhere.
The man who saw this situation for what it was, was Sakuma Morimasa.
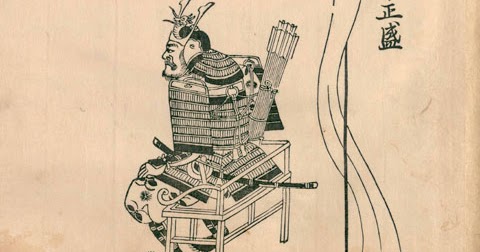
Morimasa was among the finest commanders in the Shibata camp.
Before him now appeared a chance to break through Hideyoshi’s own defensive line.
15. Sakuma Morimasa Sets His Sights on Oiwayama
What Morimasa targeted was the fort at Oiwayama.
Its defender was Nakagawa Kiyohide.
Oiwayama was one of the crucial forts making up Hideyoshi’s defensive line.
Take it, and a great gap would open in Hideyoshi’s own front.
And above all, Hideyoshi himself had moved away to Mino.
Morimasa proposed the attack.
Katsuie approved it.
Later war chronicles record, however, that Katsuie attached one condition: that the attack be followed by a swift withdrawal.
This detail matters enormously for understanding the Battle of Shizugatake.
Katsuie’s intent was to use Hideyoshi’s absence to seize a front-line fort and then withdraw quickly back to the main camp.
Morimasa, for his part, meant to push his gains further still.
This gap between the two men’s intentions would go on to decide the fate of the entire Shibata army.
Summary
Hideyoshi Struck First, in the Winter When Katsuie Could Not Move
Nobunaga fell at Honno-ji.
At the Kiyosu Conference, Sanposhi became his heir.
But the question of who truly held power within the Oda house remained.
Hideyoshi moved through the winter.
While the snow made it hard for Katsuie in Hokuriku to move a large army, he attacked Nagahama Castle.
He forced Katsutoyo of Katsuie’s side to surrender, and seized a crucial stronghold in northern Omi.
He then forced Oda Nobutaka of Mino to surrender as well.
And in Tensho 11.
Hideyoshi advanced into Ise and fought Takigawa Kazumasu.
He captured Kameyama Castle and extended his power across northern Ise.
In that time, the snow in Hokuriku melted.
Shibata Katsuie moved south.
Hideyoshi, too, returned from Ise to Omi.
Both armies built forts around Lake Yogo and settled into a long standoff.
Then, in the 4th month, Yamaji Masakuni defected to Katsuie’s side.
And on the 16th of the 4th month.
Oda Nobutaka, having surrendered once, rose up again.
Hideyoshi set out for Mino.
Here, the main force pulled away from Hideyoshi’s army in Omi.
Sakuma Morimasa seized on that opening.
His target: Oiwayama.
In the early hours of April 20, Morimasa made his move.
But Hideyoshi was in Ogaki.
From here, the Battle of Shizugatake turns from a quiet standoff into a sudden, decisive clash.
Next time, in one sweep, we cover
the assault on Oiwayama — Hideyoshi’s forced march back — the main battle at Shizugatake — Maeda Toshiie’s move — and Shibata Katsuie’s flight.